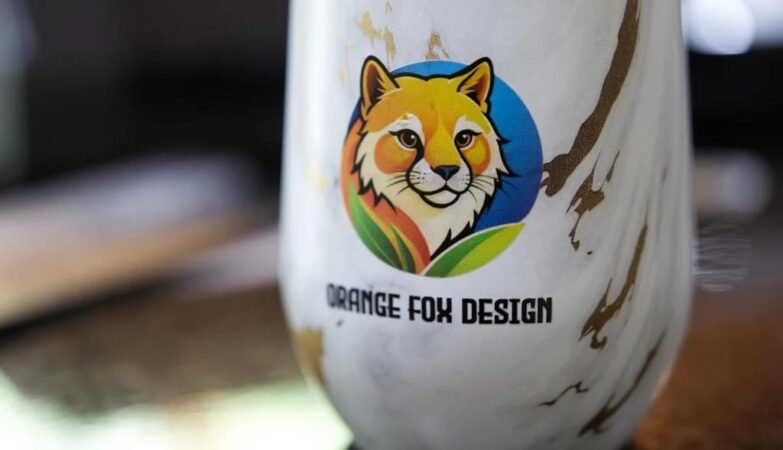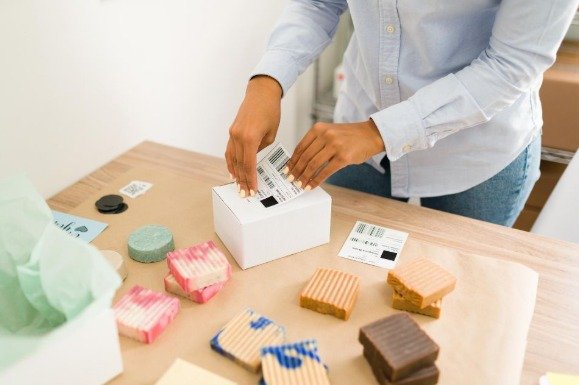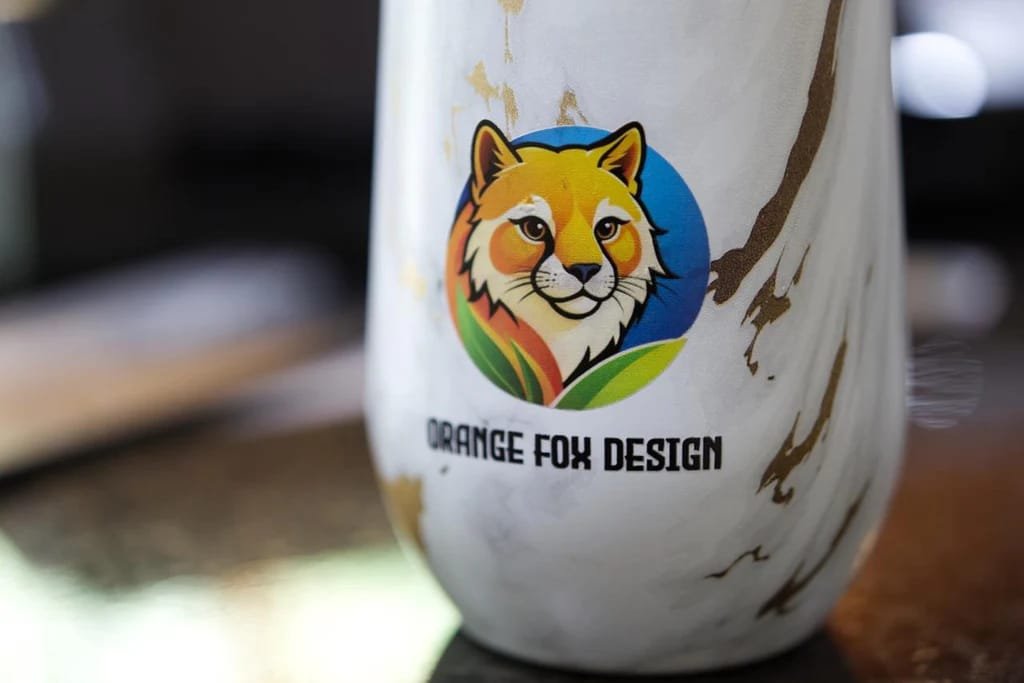
Applying a printed design to a bottle, glass container, or decorative object may seem straightforward, but the final result depends on several details. Learning how to apply uv dtf stickers requires attention to surface condition, transfer positioning, pressure, and film removal, all of which influence whether the design adheres evenly. Understanding these factors is especially useful when working with UV DTF stickers, which transfer printed graphics from a carrier film onto compatible hard surfaces.
Unlike conventional stickers that remain attached to their original backing, these transfers are designed to leave the printed design on the object after application. The process does not normally require a heat press, but it does require careful handling. This guide explains how to prepare different objects, manage the transfer, and avoid common application problems.
Start by Assessing the Surface
Before opening a transfer, examine the object you intend to decorate. Most UV DTF transfers are designed for smooth, rigid, non-porous materials. Glass, glazed ceramic, metal, acrylic, and certain hard plastics are common choices. The material alone does not determine compatibility. A smooth metal container may provide a suitable surface, while a heavily textured or powder-coated version of the same object may not. Similarly, scratches, grooves, dust, and oily residue can interfere with adhesion.
Run your fingers lightly over the intended area to identify obvious irregularities, then inspect it under good lighting. If the surface has a strong curve, narrow edges, or raised details, consider whether the design can sit flat without stretching or folding. For a new material or coating, test a small transfer first. This is more reliable than assuming that a design suitable for one object will perform identically on another.
Prepare a Clean Working Area
Good application begins before the transfer touches the object. Choose a stable, well-lit workspace where the item can remain still. Keep the transfer away from dust, moisture, and loose materials that could become trapped underneath it. Clean the application area using a product appropriate for the object’s material. Remove fingerprints, grease, and cleaning residue, then allow the surface to dry completely. Avoid using a cleaner that could damage a painted finish or protective coating. Also inspect the transfer itself. Check for damaged edges, creases, or areas where the carrier film has separated. Small defects can make handling difficult, particularly when the design contains fine lettering or narrow details.
How to Apply UV DTF Stickers Without Misalignment
Positioning deserves particular attention because many transfers become difficult to reposition once the adhesive touches the object.
Establish the Placement
Hold the design against the object while it is still supported by its backing. Check the distance from nearby edges, handles, seams, or other decorative elements. For symmetrical objects, identify a central reference point rather than relying on visual estimation alone. On bottles and cylindrical containers, look at the design from the front and both sides. A graphic that appears straight from one angle may look noticeably tilted from another.
Expose the Adhesive
Separate the backing and carrier layers according to the instructions supplied with the transfer. Different film systems can have slightly different handling requirements, so do not assume that every design should be peeled in the same order. Avoid touching the exposed adhesive unnecessarily. Fingerprints and dust can reduce contact between the transfer and the object.
Set the First Contact Point
Bring the design into contact with the surface gradually. For a flat object, align one edge or the centre first, depending on the shape of the graphic. For a curved container, begin at a manageable contact point and work across the design without forcing it around a sharp bend. Once the graphic is correctly positioned, use a squeegee or similar smooth tool to press it down. Apply consistent pressure, moving across the design in controlled passes. This helps establish contact and reduces the chance of trapped air.
Release the Carrier
Peel the carrier film away slowly at a low angle, following the transfer supplier’s guidance. Watch the design as the film separates. If any part starts lifting, stop and return the film to that area. Apply additional pressure before continuing. Do not pull quickly to save time. A slower release provides better control, particularly around small lettering and detailed shapes.
Adjusting the Method for Different Object Shapes
Flat surfaces are generally easier to decorate because the transfer can make consistent contact across the entire design. Examples include acrylic panels, metal plates, and flat sections of packaging. Curved surfaces require more planning. A transfer placed around a bottle or jar must follow the object’s shape without creating folds. Smaller graphics are often easier to position on curved areas than large designs that extend around the entire circumference.
Objects with corners, grooves, or raised features present another challenge. Avoid placing important parts of the graphic directly across these areas. If the design cannot lie smoothly against the surface, choose another placement rather than forcing it into position. UV DTF printing systems, including equipment from eufyMake, support decorative production workflows, but the suitability of a particular object still depends on the transfer materials and its surface finish.
What to Do When Application Does Not Go as Planned
Several common problems have identifiable causes:
- The edges lift: The surface may contain residue, have an unsuitable coating, or offer insufficient contact. Check compatibility and clean the area before trying another transfer.
- Air bubbles appear: Air may have become trapped during positioning. Apply the design gradually and smooth it from the centre towards the edges.
- The design stays on the carrier: Additional pressure may be needed, or the surface may not be compatible with the adhesive. Press the affected section again before continuing.
- The graphic looks uneven: Misalignment may have occurred during initial contact. Plan the placement carefully before exposing the adhesive.
Avoid repeatedly lifting and repositioning a transfer. This can damage its structure or reduce adhesion.
Caring for the Finished Decoration
After applying uv dtf transfers, follow the care instructions provided with the transfer. Do not assume that resistance to occasional water exposure means the decorated object is suitable for a dishwasher, soaking, or abrasive cleaning. For everyday items, gentle hand cleaning is generally a cautious approach unless the supplier specifies otherwise. Avoid scrubbing directly over the design, and keep the finished object away from harsh cleaning chemicals unless compatibility has been confirmed.
Final Thoughts
Learning how to apply UV DTF stickers involves more than pressing a printed design onto an object. Surface compatibility, cleanliness, accurate positioning, even pressure, and controlled carrier removal all contribute to the result. Flat objects are usually easier to decorate, while curved or textured surfaces require additional planning. Taking time to test unfamiliar materials and follow the transfer manufacturer’s instructions can help prevent avoidable application problems.
Frequently Asked Questions
1. Can UV DTF stickers be applied to a curved glass bottle?
Yes. They can be applied to many gently curved glass bottles, provided the surface is smooth and compatible. Smaller designs are often easier to position than large graphics that wrap around the entire bottle.
2. Should I use water when applying UV DTF stickers?
Standard UV DTF application is generally a dry process. Adding water is not normally necessary and may interfere with adhesion unless the specific transfer manufacturer gives different instructions.
3. Can I apply a UV DTF design over a painted surface?
It depends on the paint and its condition. A stable, smooth coating may be suitable, but loose, peeling, powdery, or textured finishes can prevent reliable adhesion. Test the transfer before decorating the full object.
4. Why should the carrier film be removed at a low angle?
A low-angle peel gives the user more control over the separation process. It can reduce the chance of pulling the printed design away from the object, particularly around fine details.
5. Can I place two UV DTF designs on the same object?
Yes, provided both designs have enough space and the surface is suitable. Plan their positions before application to avoid overlapping edges or placing one transfer on an uneven section.