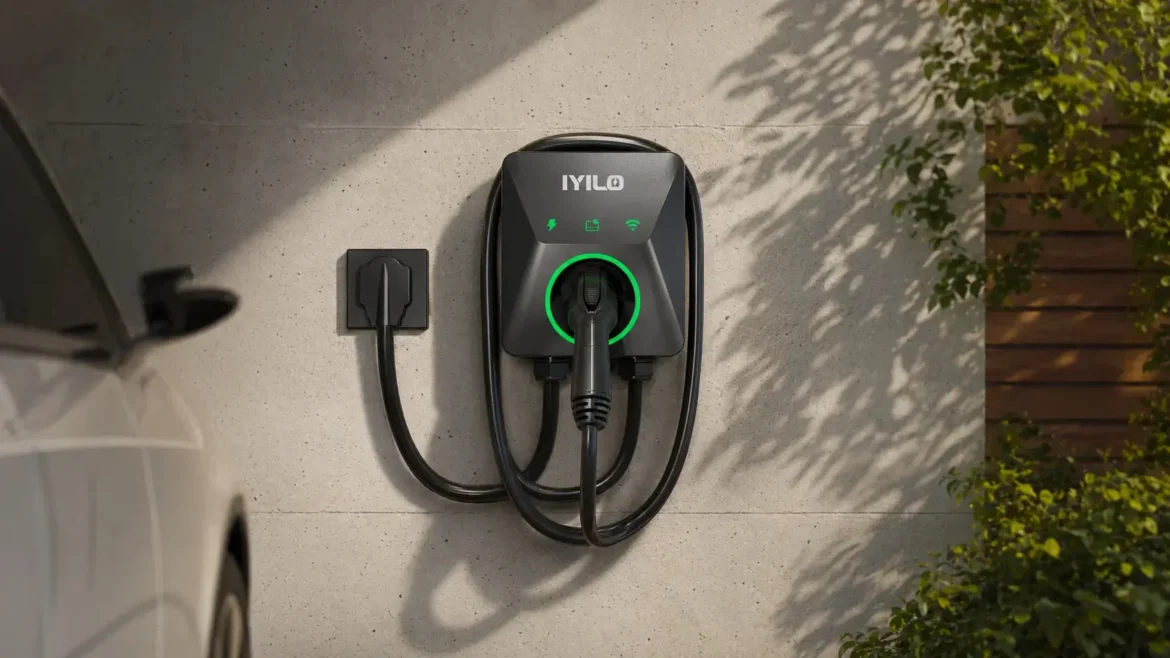
Home charging is often the most convenient way to live with an electric vehicle, but a Level 2 charger adds a substantial continuous load to your electrical system. Ordering hardware before you understand your panel’s capacity can lead to nuisance trips, expensive change orders, or unsafe improvisations. A quick preliminary check helps you match charger size to your home’s infrastructure. This article walks through how to read your main panel, translate charger specifications into a load number, weigh installation options like a NEMA 14- 50 receptacle versus a directly wired EVSE, and consider load management devices. It also highlights common pitfalls around conductor sizing, protection, and permitting so you can plan a practical installation that complies with electrical codes.
-
Confirm Your Service and Panel Rating, Not Just Open Spaces
Start at the main service disconnect and panel labels. The large handle at the top often shows the service rating in amperes, such as 100A, 150A, or 200A. Thepanel’ss bus rating label may state a maximum, for example, 200A bus, which limits how much current the panel is designed to carry regardless of how many breaker spaces are available. Count open breaker spaces if you like, but available spaces do not equal available capacity. An older 100A service that already feeds an electric range, dryer, and heat pump water heater may have little headroom for a 40A continuous EV load even if you see empty slots.
Manufacturers’ labels also list temperature ratings and allowed breaker types, both of which affect conductor sizing and breaker selection. While you research, browse reputable contractor websites, such as upfrontelectrical.com, and your utility’s EV charging page to orient yourself before you speak with an electrician. As an example, if your main breaker is 100A and your home has several 240V appliances, a smaller EVSE set to 24A or a load management device may be more realistic than a 48A unit on a 60A circuit.
-
Turn Charger Specifications Into a Load Number You Can Compare
Level 2 EVSEs list a maximum output current. Because EV charging is a continuous load, the common 125 percent rule applies. That means a 32A EVSE requires a 40A breaker, and a 40A EVSE requires a 50A breaker. A 48A EVSE typically needs a 60A breaker. Translate the amperage into power to understand the impact: 32A at 240V is about 7.7 kW, while 48A at 240V is roughly 11.5 kW. Higher amperage shortens charging time but consumes more of your panel’s headroom and requires larger conductors.
Match output to your real overnight needs. For a driver who adds 25 to 35 miles on a typical day, a 30A circuit feeding a 24A EVSE may fully recharge by morning. A 32A EVSE would generally require a 40A circuit instead. A household with two EVs or frequent long trips may benefit from a 40A or 48A EVSE, but only if the load calculation supports it. Oversizing the charger without capacity leads to tripping when the oven, dryer, and EV all run together.
-
Circuit Routing Changes Conductor Size, Protection, and Cost
How you route the branch circuit from panel to charger affects conductor gauge and materials. Short indoor runs in NM B cable might use 8 AWG copper on a 40A circuit, while a long run to a detached garage in buried PVC conduit with THHN conductors may call for larger conductors to limit voltage drop. Termination temperature ratings matter. If the breaker and EVSE lugs are rated 75 degrees Celsius, you can often use the corresponding ampacity column; if any termination is rated 60 degrees Celsius, those ratings may govern. Cable type and other applicable electrical code rules must also be considered. Outdoor installations need an enclosure with an appropriate weather resistance rating, such as NEMA 3R, and weatherproof fittings. Many jurisdictions require GFCI protection for receptacles in garages and outdoors, and some EVSE units include integral protection against ground faults that must coordinate with upstream devices.
A common mistake is relying on adapters or extension cords to “make do” until a proper circuit is installed. EV charging places sustained current on connectors, and undersized or worn plugs generate heat. Another trap is cramming too many conductors into a small conduit, which can require ampacity adjustments that reduce allowable current. Proper conduit fill and bend radius help avoid overheating and make future pulls easier.
-
NEMA 14- 50 Receptacle or Directly Wired EVSE: Decide by Environment and Rating
Many homeowners consider a NEMA14- 500 receptacle because it is flexible and supports multiple portable EVSE models. The tradeoff is additional failure points at the plug and the likelihood of a 50A receptacle with GFCI protection in a garage, which can add cost and complexity. Frequent connection and disconnection cycles can loosen contacts over time, so periodic visual checks are wise. In cramped panels, a 50A GFCI breaker also occupies two full spaces.
An EVSE connected directly to the electrical circuit reduces plug heating risks and is typically allowed at 48A on a 60A circuit when installed according to manufacturer instructions. It often integrates protection against ground faults and can be mounted with a holster to protect the connector. For a detached garage subject to dust or humidity, a directly wired unit with a NEMA 3R rating can be more reliable. On the other hand, if you anticipate switching vehicles or sharing a charger with an RV, a receptacle may offer useful flexibility despite the added maintenance.
Use Load Management Before You Commit to a Service Upgrade
When a load calculation shows limited headroom on a 100A or 125A service, a listed load management device can be a smart bridge. Solutions that use current transformers to monitor the service conductors will temporarily reduce or pause EV charging when demand throughout the house approaches a set threshold. Some smart breakers and subpanels offer similar control. This approach can allow a 40A EVSE in a home that would otherwise require a costly service upgrade, as long as the local authority accepts the device and installation instructions are followed.
Plan permitting and protection early. Many areas require an electrical permit and inspection for a new 240V circuit. Label the breaker with the EVSE model and maximum output setting if it is adjustable. During installation, a qualified electrician should tighten conductor terminals to manufacturer torque specifications and perform any subsequent inspections recommended by the manufacturer. Test the EVSE’s protection against ground faults according to the manual. If you may add a second EV later, install conduit large enough for an additional circuit or choose an EVSE with a load-sharing feature so two units can balance current on one feeder.
Approach a home EVSE as an electrical design decision, not just a shopping choice. Start by confirming your main breaker and bus ratings, then translate the charger’s amperage into a continuous load number you can compare against capacity. Consider the route, enclosure rating, and conductor sizing as part of the plan, and pick between a receptacle and a directly wired unit based on environment and maintenance tolerance. Where headroom is tight, evaluate listed load management devices before you pursue a panel or service upgrade. A thoughtful design, followed by permitted and inspected work, gives you reliable overnight charging without overtaxing your home’s electrical system.