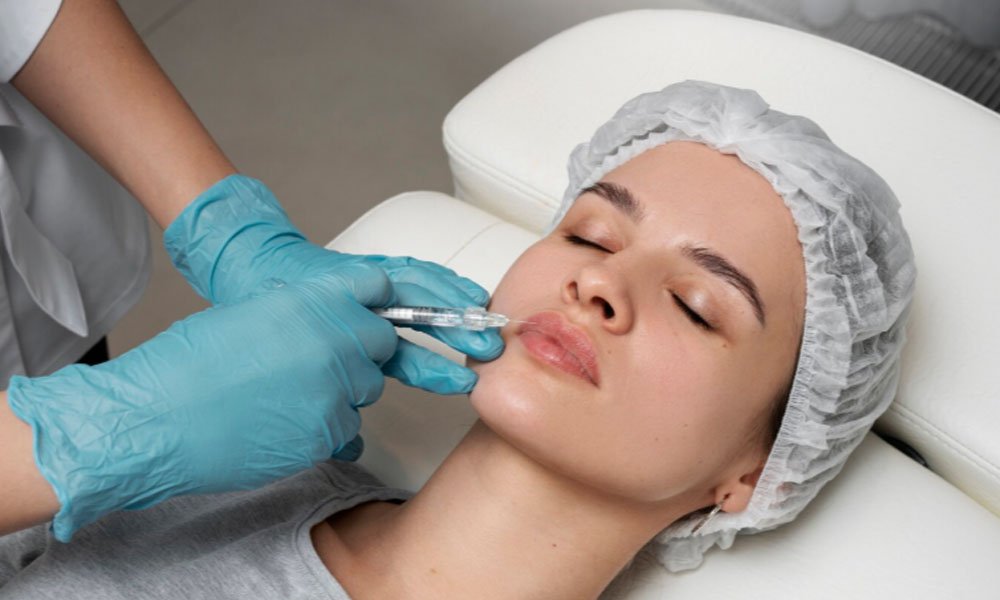
The practical application of fillers in clinic starts with the basic understanding that patients arrive with a media driven vocabulary of expectations, and practitioners arrive with knowledge of tissue planes, the rheology of materials and the vascular anatomy of the area to be treated. It is the interface between these two positions that accounts for most discontent and potential harm, and so it is these ‘decisions’ that form the basis of the following.
What the product is actually doing in the tissue
Fillers are used to fill three different ‘spaces’. Volume loss, structural deficits (against bone or deep fat compartments) and surface contour (line filling). Using a single syringe of a filler to deliver all of these ‘spaces’ can result in poor treatment outcomes, as each space requires a very different approach.
The rheology of a dermal filler can indicate the type of effect it can produce and therefore the type of treatment for which it is suited. High G’ products are particularly resistant to deformation and are therefore ideal for use in areas such as the jawline and mid-face where there is considerable compression. Very spreadable products with low cohesivity are ideal for areas of the face with mobile skin such as the lips and perioral skin. The product’s water-binding capacity must also be taken into account as some very hydrophilic products can cause a filler to swell in the skin for up to a fortnight, giving an incorrect representation of the long-term results of treatment.
Why anatomy beats volume
Injecting the deep medial cheek to support the lost ligaments usually gives a better outcome for the nasolabial fold than filling the fold itself. The pyriform aperture, the area of the nose between the nostrils, is another area where treating the collapse of the structure rather than the resulting sinking of the surrounding tissues will usually give better results in the perioral area in the long run.
Running a consultation that prevents complaints later
Remember a consultation is a filtering exercise to see if a patient is suitable for treatment. Patients need to be able to explain to you what it is that concerns them. Bring a photo of someone else, use it to discuss the problems of that person and why it would not be suitable to treat them. Be realistic about the changes that you see and ensure that the patient’s concerns are realistic in relation to the findings.
Don’t rely on the patient’s history. You’d be surprised how often a patient fails to mention previous permanent or semi-permanent treatments. These need to be approached in an entirely different manner. Also, it’s essential to know about any autoimmune diseases the patient suffers from and whether they are planning any dental work. Recent skin infections and the patient’s anticoagulation status also need to be taken into account when planning treatment.
- Standardized photography in consistent lighting, taken before any marking
- A written treatment plan listing areas, products, and approximate volumes
- Documented discussion of vascular occlusion, including the signs the patient must report
- Agreement on a review appointment date before the first injection
- A note of what was declined and why
Setting the expectation of staged treatment
By explaining that significant volume loss requires 2-3 sessions of treatment to reach optimal levels, you can transform the partial result of the first treatment into a positive experience for your patient and also avoid the trap of overfilling, which is far more difficult to reduce than underfilling.
The treatment itself and the first two weeks
Most sessions take 20 to 45 minutes to complete, depending on the number of areas that are being treated. It is best to decide on a topical anesthetic, a lidocaine-containing product or a dental block prior to commencing the session as patients tend to remember anything that is ‘uncomfortable’ during the session, whether or not it was expected!
There is great variability in swelling and bruising between different areas of the face. Typically, the lips take 72 hours to swell and do so unevenly and to great disparity. The pre-auricular crease and the infraorbital region can look worse before they look better whereas the jaw and chin swell slowly and return to normal within a week. Anyone weighing up this settling period is well served by booking dermal fillers in Jacksonville FL with a clinic that schedules the review as part of the treatment rather than as an afterthought.
| Area | Typical visible settling | Approximate duration | Main review consideration |
| Lips | 7 to 14 days | 6 to 9 months | Symmetry, border definition |
| Midface | 10 to 14 days | 12 to 18 months | Projection versus width |
| Tear trough | 2 to 4 weeks | 9 to 12 months | Tyndall effect, fluid retention |
| Chin and jaw | 5 to 10 days | 12 to 24 months | Contour continuity with neck |
Temporariness as a clinical feature
Degradation of fillers is not a flaw that needs to be apologized for as it allows for adjustment of a treatment as a patient grows with age. As an imperfect treatment option it is also self-correcting and therefore far better than a permanent treatment that cannot be reversed by a practitioner offering dermal fillers in Manchester or elsewhere.
Duration of fillers can vary from person to person based on metabolism, how they have been placed, cross-linking of the product and movement of overlying muscles. Deep structural placement lasts longer than superficial placement in any one individual.
Aftercare worth enforcing
- No strenuous exercise, saunas, or alcohol for twenty-four hours
- Avoid dental treatment and facial massage for two weeks
- Report asymmetric pain, blanching, or mottled discoloration immediately, at any hour
- Attend the two-week review even if satisfied
The review is easy to manage and ensures that small changes to perfect a treatment cost the practitioner nothing but time for one patient and a top-up for another.